Once you’ve created an event in Printybooth, you need to assign it to a printer so the system knows which prints belong where. This guide shows you how to link a printer with an event using the PrintyBooth Web App.
🖨️ Step 1: Go to the Printers Tab #
- From the top menu, click Printers.
- Find the printer you want to assign an event to.
- Click the Config button next to it.
⚙️ Step 2: Open Event Settings #
- In the printer configuration screen, go to the Event settings tab.
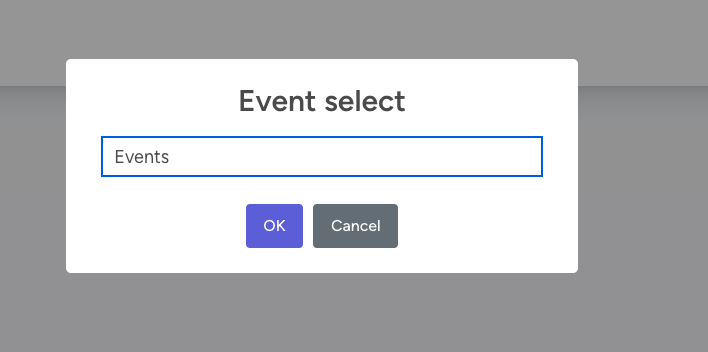
- Click on Click to select event.
- Choose the event you want to assign from the list.
- Confirm the selection (by clicking OK).
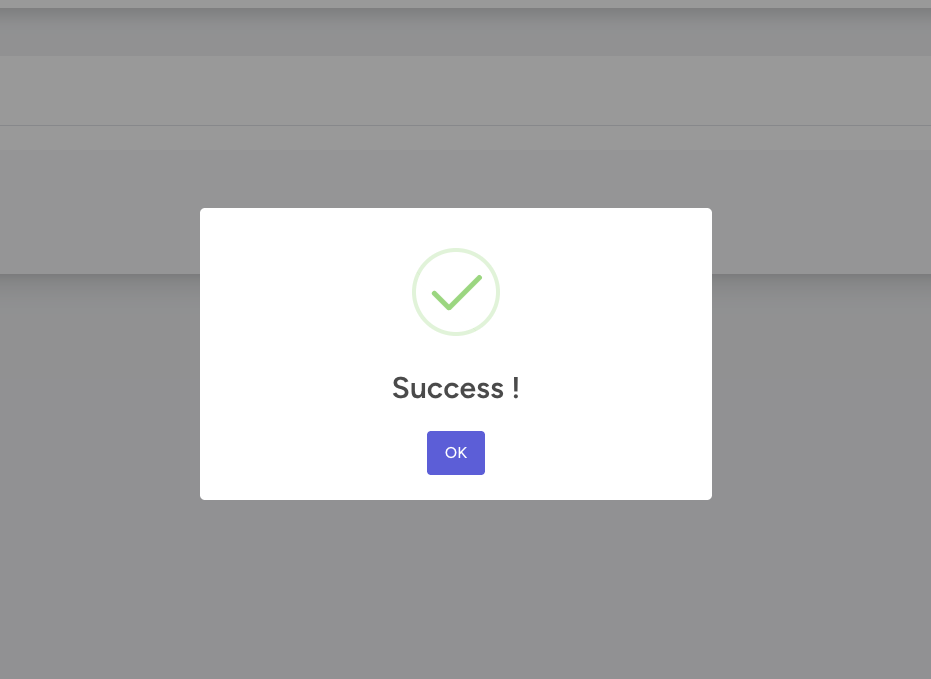
The selected event will now be linked to this printer. Any uploads or jobs related to the event will be printed through this printer (connector).
🔁 Change or Update the Assigned Event #
You can change the assigned event anytime using the same process above.
This is useful if you’re reusing the printer for another event or testing.
Only one event can be active per printer at a time.