Follow this guide to set up a new event in the PrintyBooth WebUI. Events control how photo uploads, branding, and printing behave during your activation.
🆕 Step 1: Navigate to the Events Tab #
- In the top menu, click Events.
- Click the green button Create New Event.
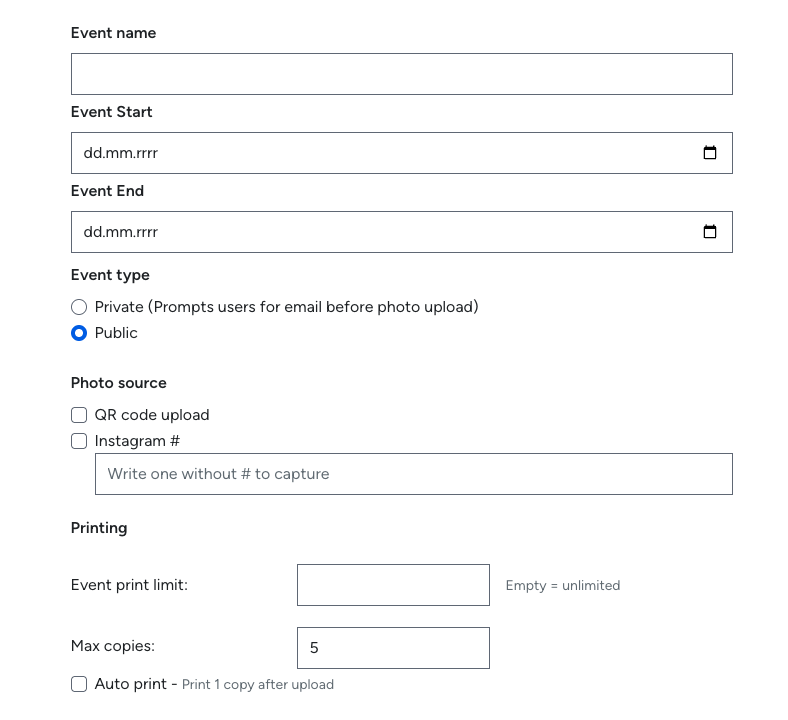
📝 Step 2: Fill In Basic Event Details #
- Event Name – Give your event a name (e.g. „Wedding of Jane & John“).
- Event Start & End – Specify the date range during which the event is active.
- Event Type:
- Public – Everyone with the link can view photos and upload them. Instagram # import is available.
- Private – Each user uploads their photo with an email and receives a unique print access code. Instagram import is disabled.
- Photo Source – Enable additional sources:
- QR Code Upload
- Instagram Hashtag (only for Public events)
- Printing Options:
- Event print limit – Maximum number of prints allowed for the entire event (leave empty for unlimited).
- Max copies
- Auto print – Enable to automatically print 1 copy after photo upload.
🎨 Step 3: Customize Event Branding #
- Text Color – Pick the color of text used in the online event page.
- Background – Choose from:
- White background
- Upload a background image
- Select a solid color
- Upload optional overlays and branding:
- Logo
- Horizontal photo overlay
- Vertical photo overlay
- Instagram photo overlay
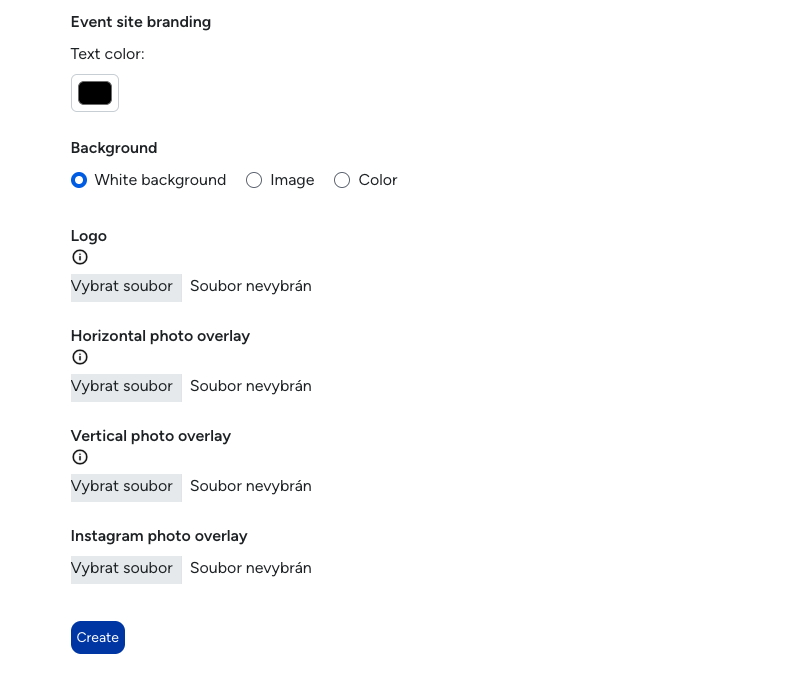
✅ Step 4: Save the Event #
Click the blue Create button to save your new event.